In this guide, you’ll learn how to integrate Responsly with Mailchimp and save survey answers as tags, notes or list fields on subscribers’ profiles.
Seamlessly connect your Responsly surveys with your Mailchimp account to automatically collect e‑mail addresses and subscriber data from survey participants. Every new contact is added directly to your chosen Mailchimp audience — no manual exports.
Before you begin
Make sure you have:
- a form created in Responsly,
- a Mailchimp account.
Step 1: Enable the integration
- Open the form you want to integrate.
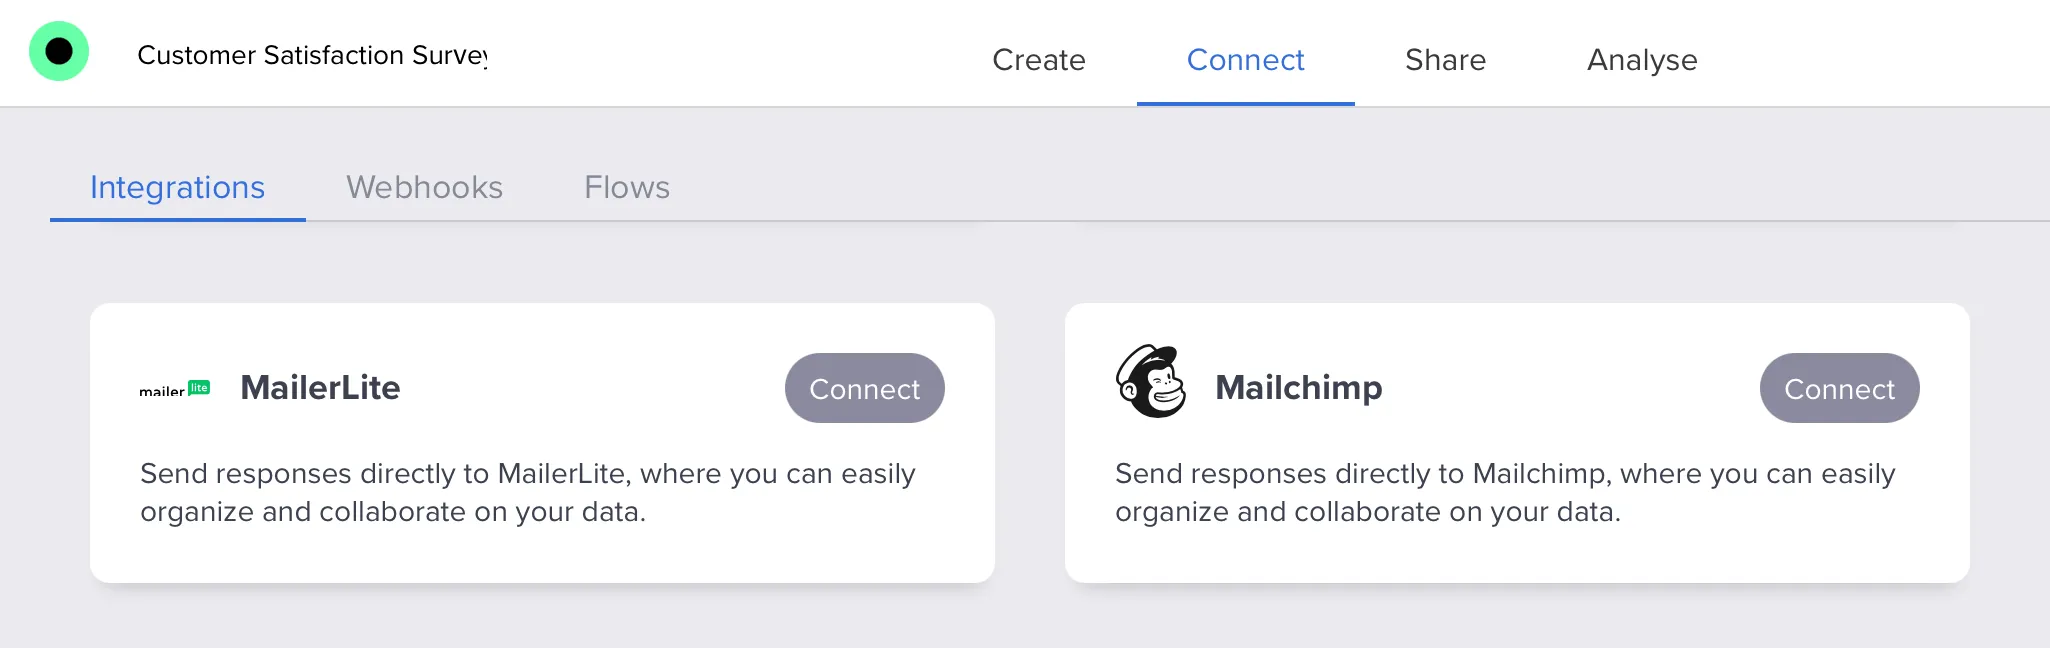
- Go to Connect → Mailchimp.
- Click Connect new account – an OAuth login window will open so you can authorize Mailchimp for Responsly.
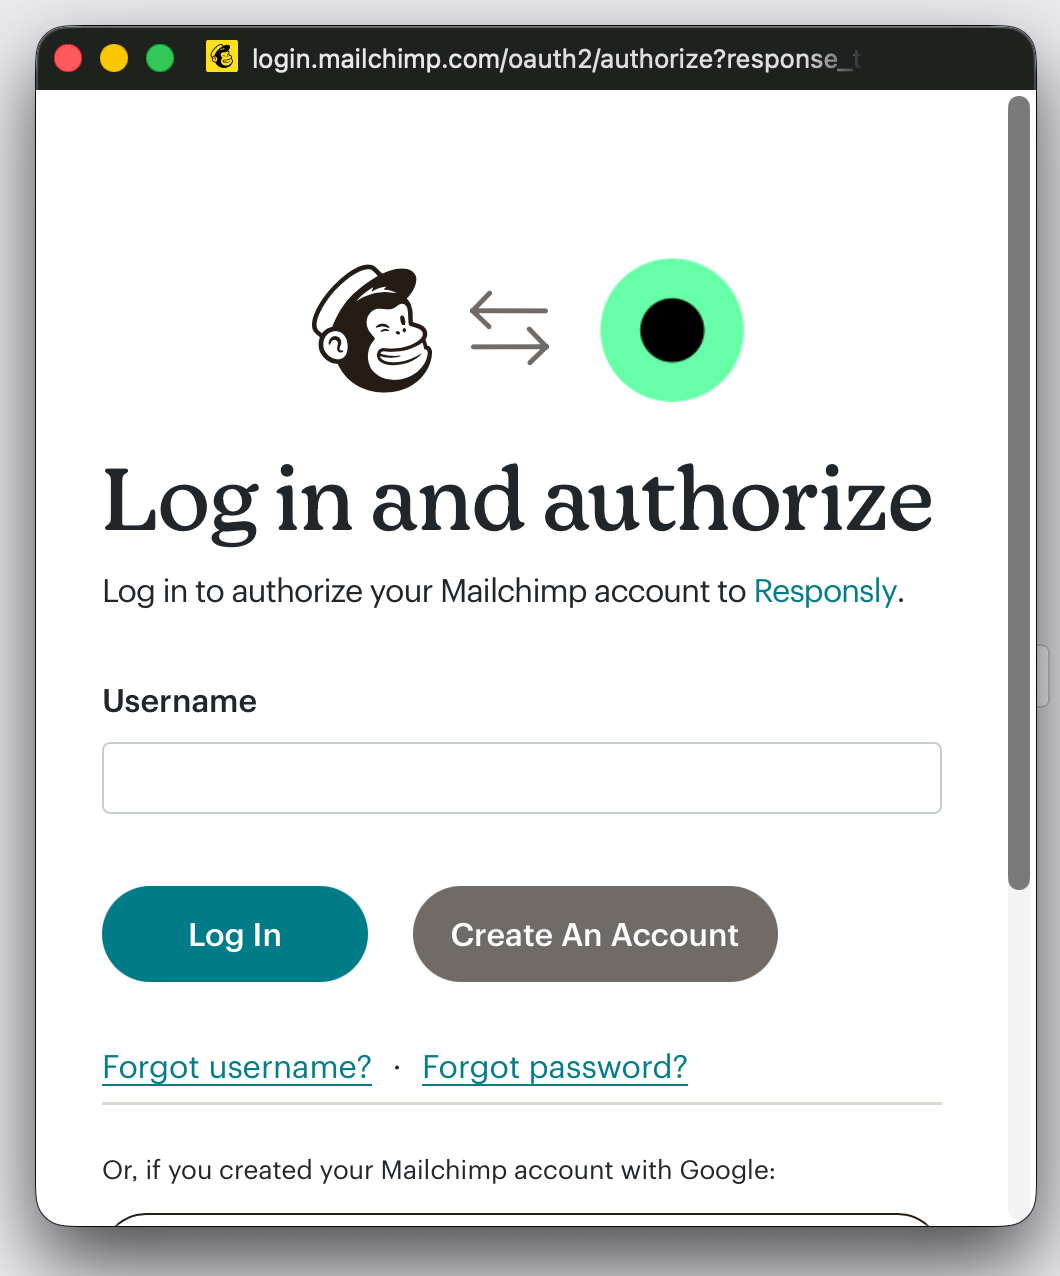
If you don’t see the pop‑up window, you may need to allow pop‑ups in your browser (Chrome, Firefox, Opera, Edge, Safari, etc.).
Once Responsly is authorized, you’ll see the integration configuration screen.
Step 2: Map your fields
In this step, choose the Mailchimp list and map fields.
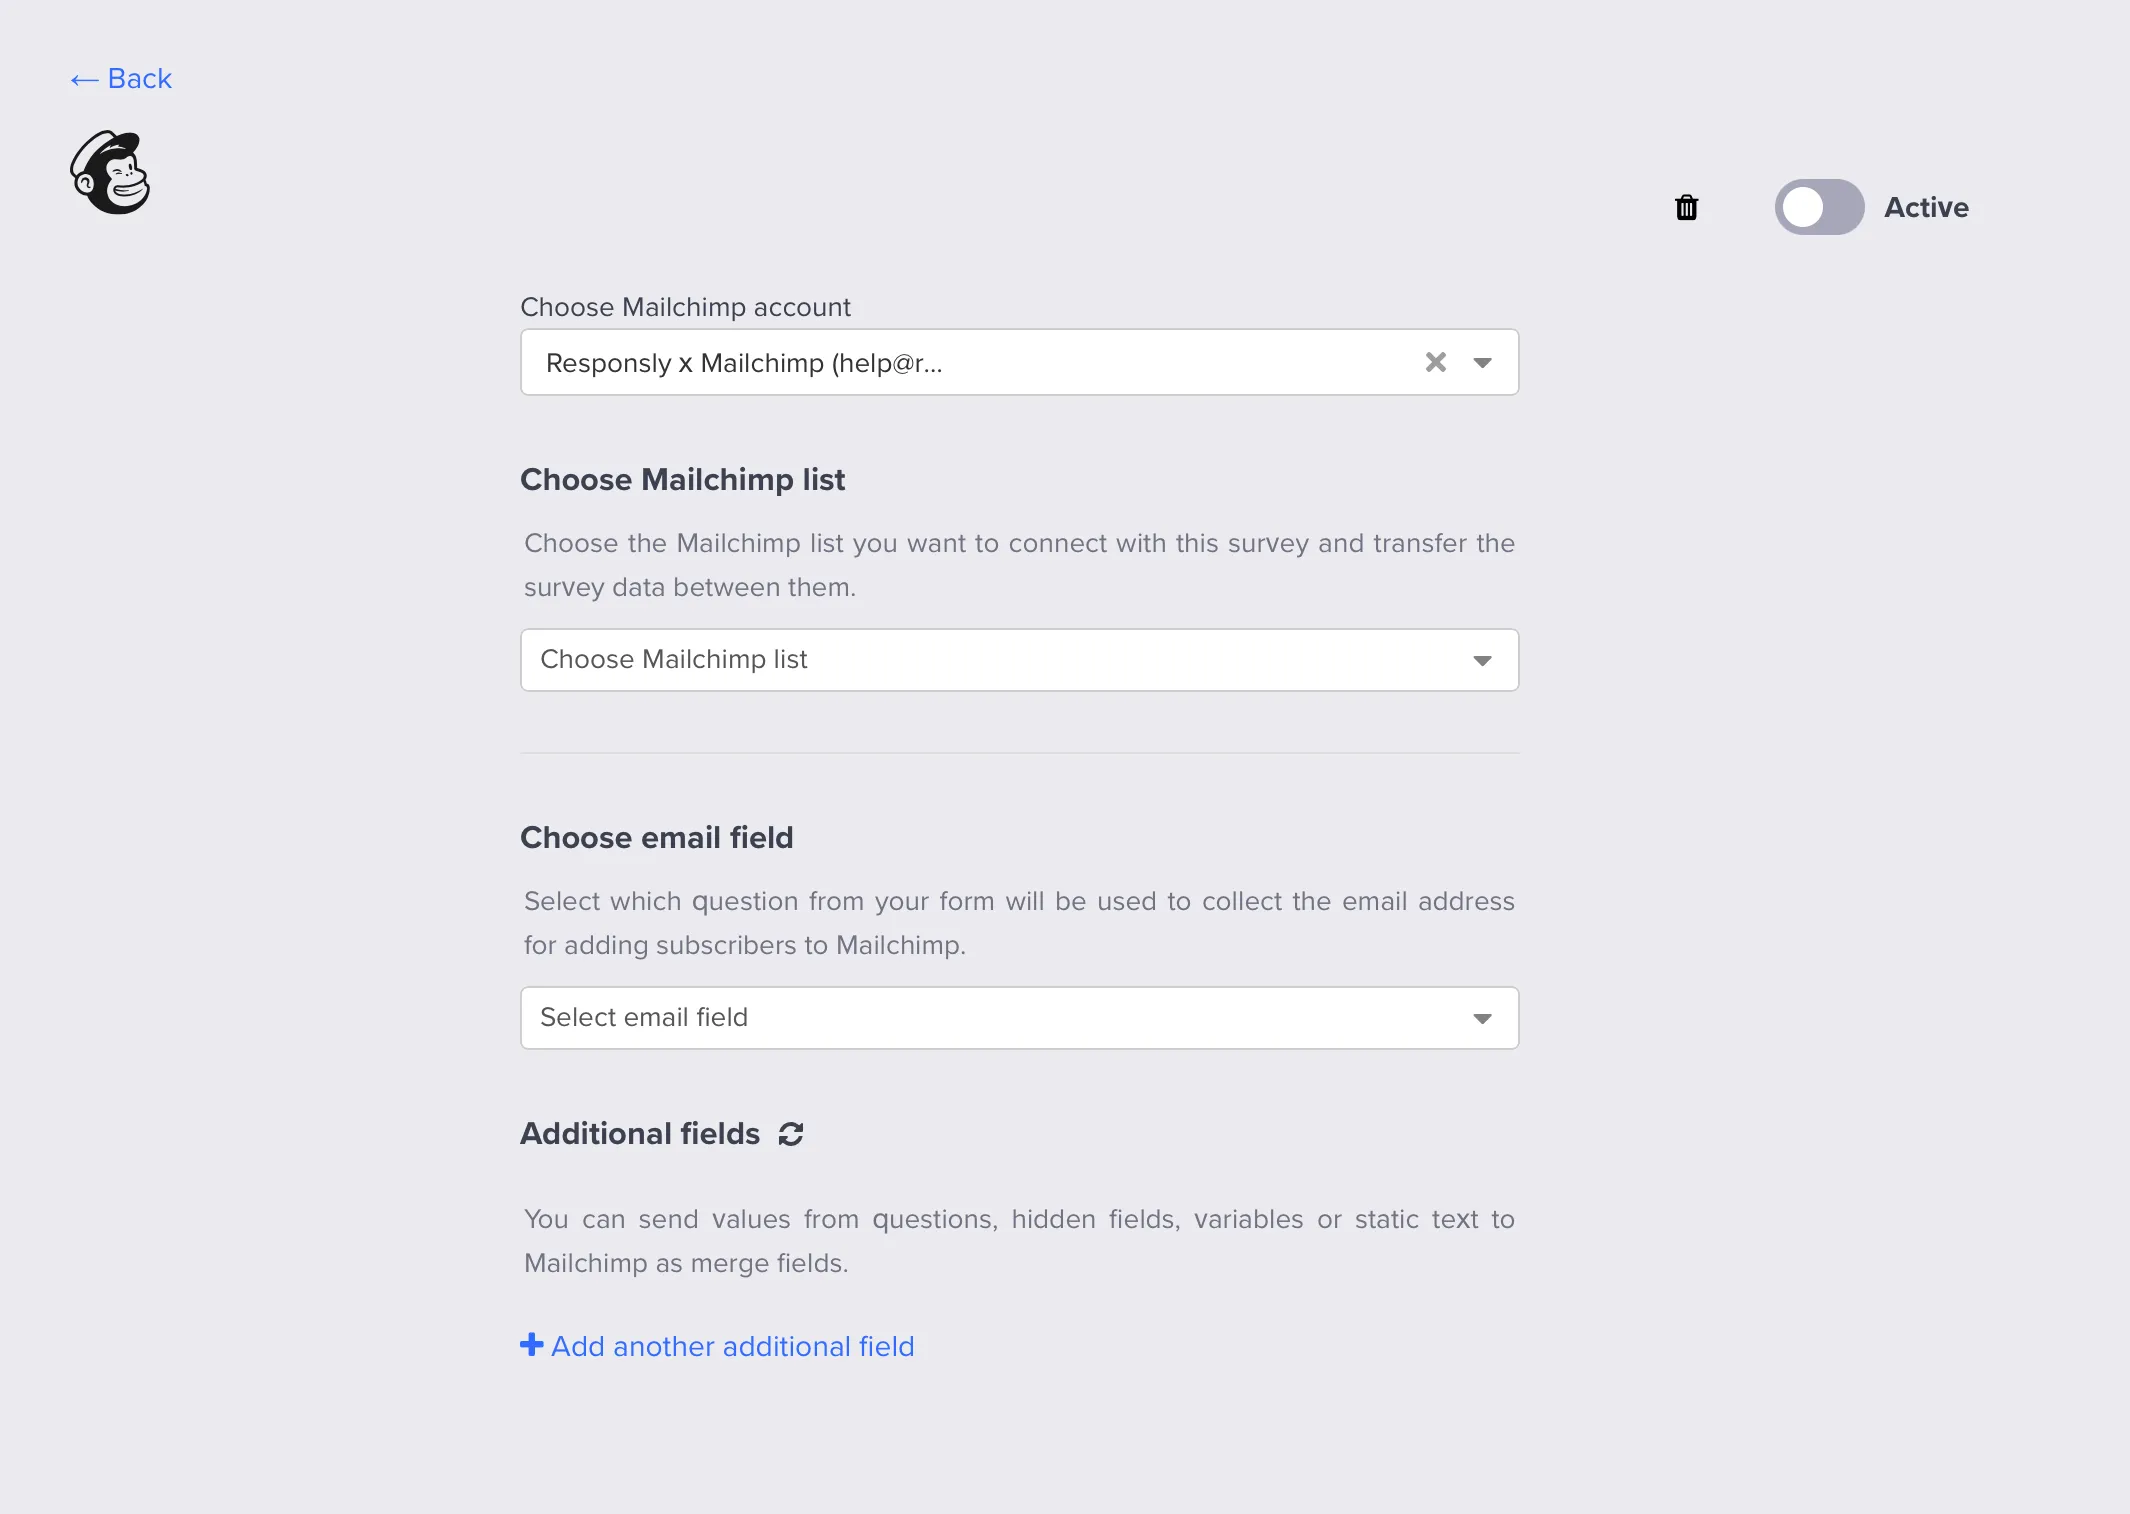
- Select the Mailchimp audience/list where respondents should be added.
- Choose which form field will be used as the e‑mail address.
- Map other survey fields (e.g. name, CSAT) to Mailchimp fields.
- Toggle the Active switch in the top‑right corner and save.
- Test the integration with a sample response.
Also decide whether your setup should:
- create new subscribers if they don’t exist yet,
- and/or update existing subscribers (add tags, update fields).
Step 3: Sending surveys & collecting responses
You can distribute your surveys from Responsly in many ways:
- e‑mail surveys,
- QR codes,
- SMS surveys,
- website surveys (e.g. footer or widgets), and more.
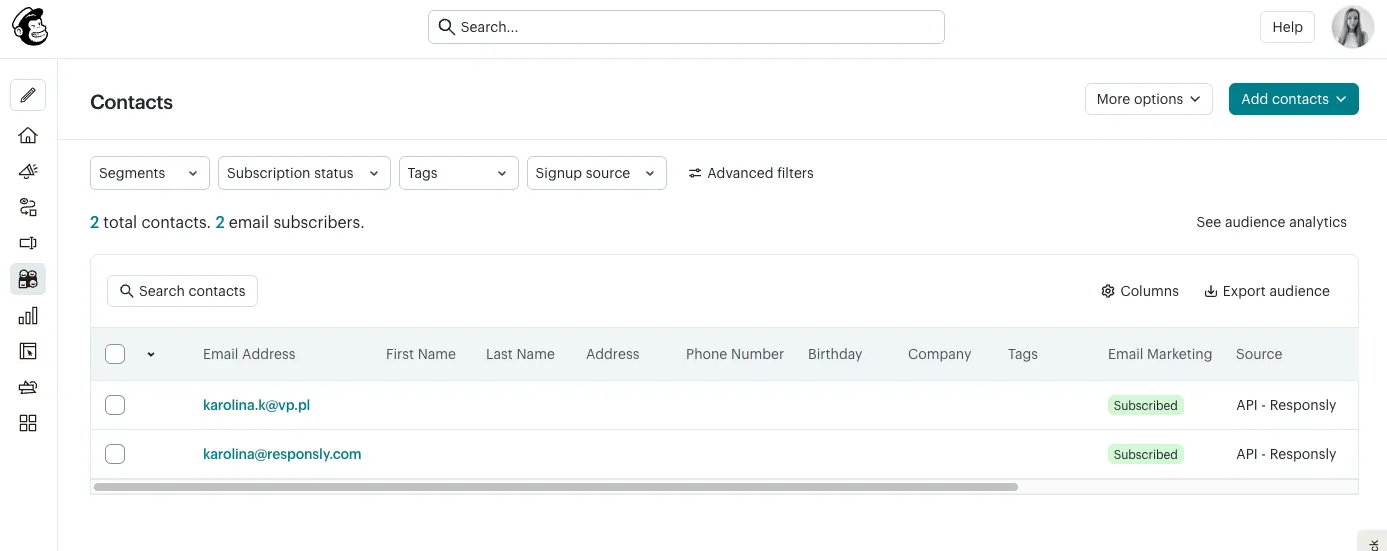
When responses come in, they are forwarded to Mailchimp according to your integration settings.
By default, all collected e‑mails go into your selected audience. If you need more control, use Flows (next step).
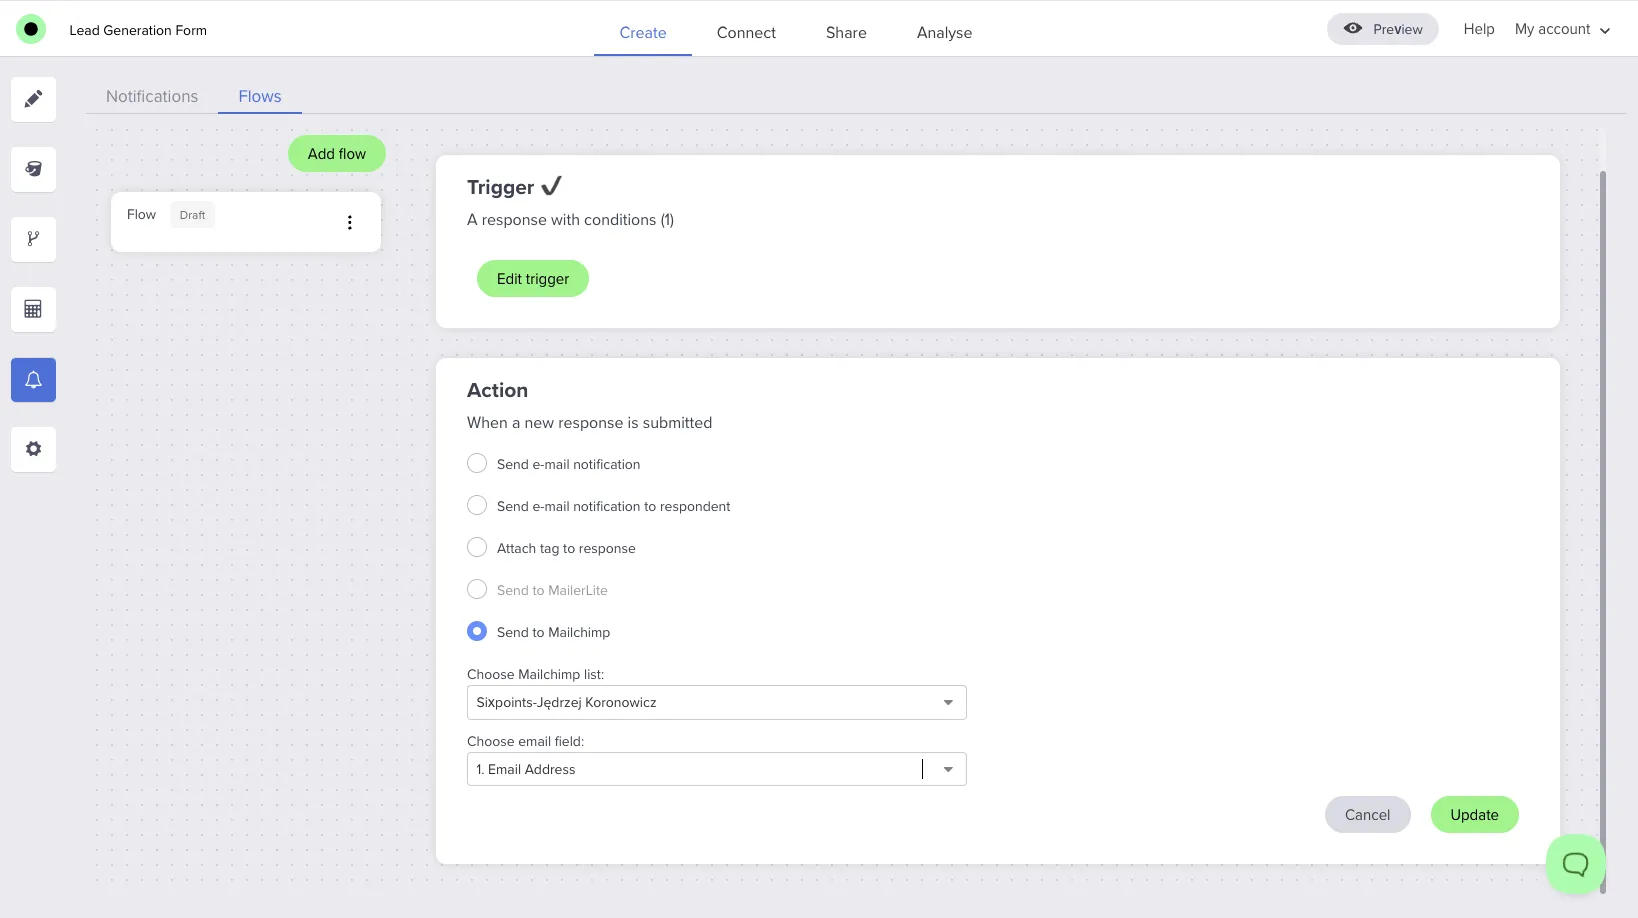
Step 4 (optional): Use Flows to control which responses get sent
If you want only certain responses to be sent to Mailchimp, configure Flows in Responsly, for example require that:
- the respondent provides an e‑mail address,
- the respondent gives legal consent (if required).
If conditions are met → contact + response are sent to Mailchimp.
If not → the response stays in Responsly and is not exported.
This improves compliance (e.g. GDPR) and helps keep your Mailchimp database clean.
Troubleshooting
Common issues and what to check:
- No responses are being sent → verify Flow conditions (e‑mail + consent) are set correctly.
- Connection error → re‑authorize the integration or check Mailchimp status.
- Data looks wrong (fields mismatched) → double‑check your field mappings in both Responsly and Mailchimp.