Connect Responsly with Microsoft Excel to automatically save survey responses into a spreadsheet – making it easy to analyze data, build reports and collaborate with your team.
Before you begin
Make sure you have:
- a Responsly account with integration permissions,
- a Microsoft 365 account with OneDrive or Excel Online access,
- a survey in Responsly whose results you want to send to Excel.
Step 1: Enable the integration
- Log in to Responsly and open the survey you want to connect.
- Go to Integrations and choose Microsoft Excel.
- Click Connect.
Step 2: Connect your Microsoft account
When prompted:
- sign in using your Microsoft 365 credentials,
- grant Responsly permission to access and edit Excel files in your OneDrive or Excel Online.
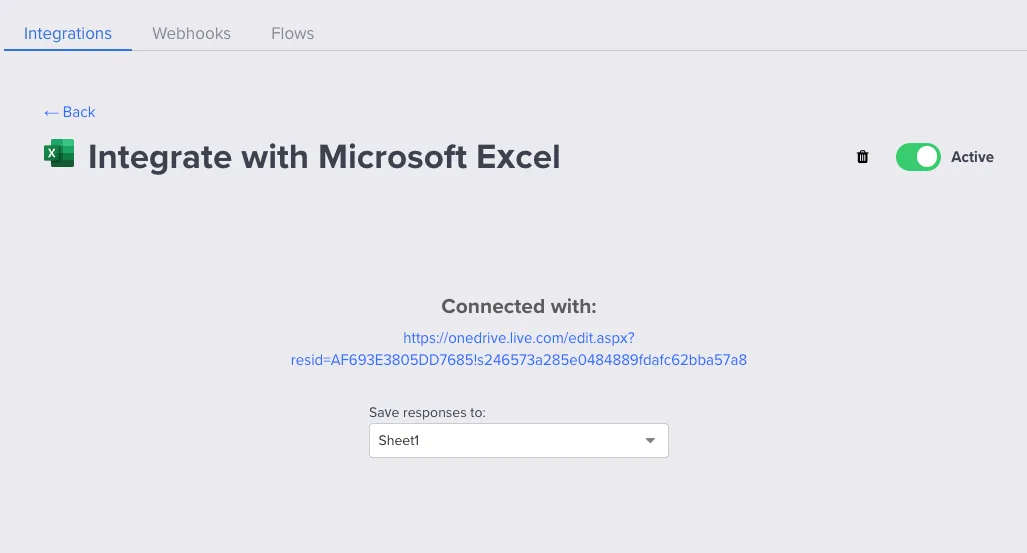
Once connected, the integration status will show Connected.
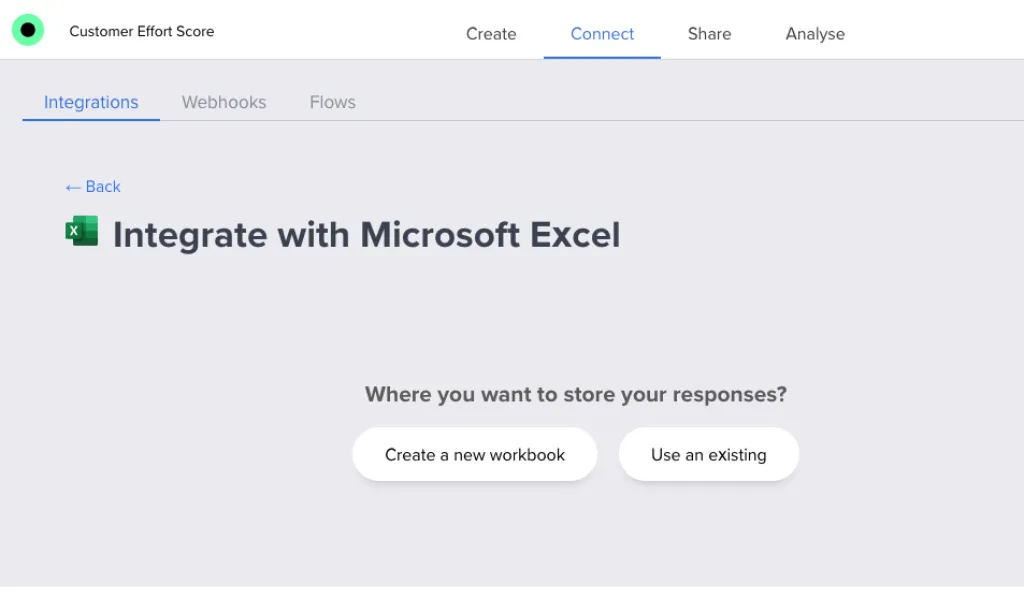
Step 3: Choose where responses are saved
You can:
- create a New workbook – Responsly will create a new Excel file for this survey’s responses, or
- choose an Existing workbook – link a file and pick the worksheet to use.
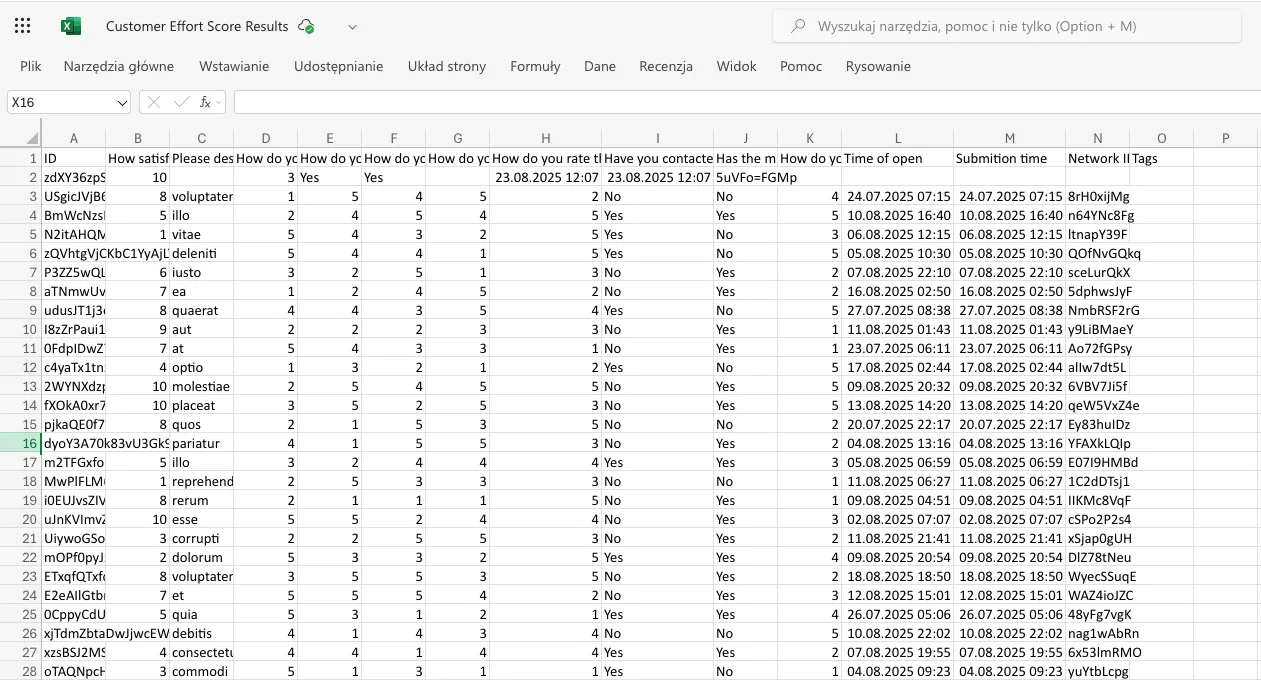
Responsly creates columns for your survey questions and writes each response into a new row.
Step 4: Verify everything works
- Submit a test response in Responsly.
- Open the linked Excel file.
- Confirm that:
- a new row has been added,
- data appears in the correct columns.
If something doesn’t look right (missing field, misaligned column, etc.), adjust your integration settings and test again.
You can change which workbook/worksheet is used, alter which fields are synced, or disable the integration at any time if you no longer want data going into Excel.