Connect Responsly with Microsoft Excel so new survey responses flow into a spreadsheet in OneDrive / Excel Online—ideal for live dashboards, pivot tables, and shared reporting without manual exports after every wave.
For a one-time file download instead of continuous sync, use How do I export survey data?. For Google’s equivalent, see Save responses to Google Sheets.
Before you begin
Make sure you have:
- a Responsly account with integration permissions,
- a Microsoft 365 account with OneDrive or Excel Online access,
- a survey in Responsly whose results you want to send to Excel.
Step 1: Enable the integration
- Log in to Responsly and open the survey you want to connect.
- Go to Integrations and choose Microsoft Excel.
- Click Connect.
Step 2: Connect your Microsoft account
When prompted:
- sign in using your Microsoft 365 credentials,
- grant Responsly permission to access and edit Excel files in your OneDrive or Excel Online.
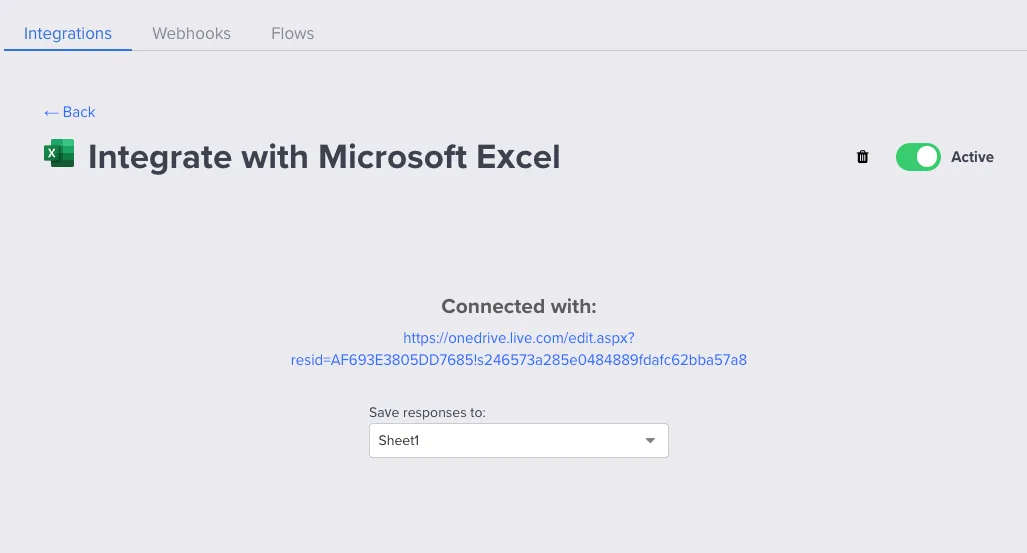
Once connected, the integration status will show Connected.
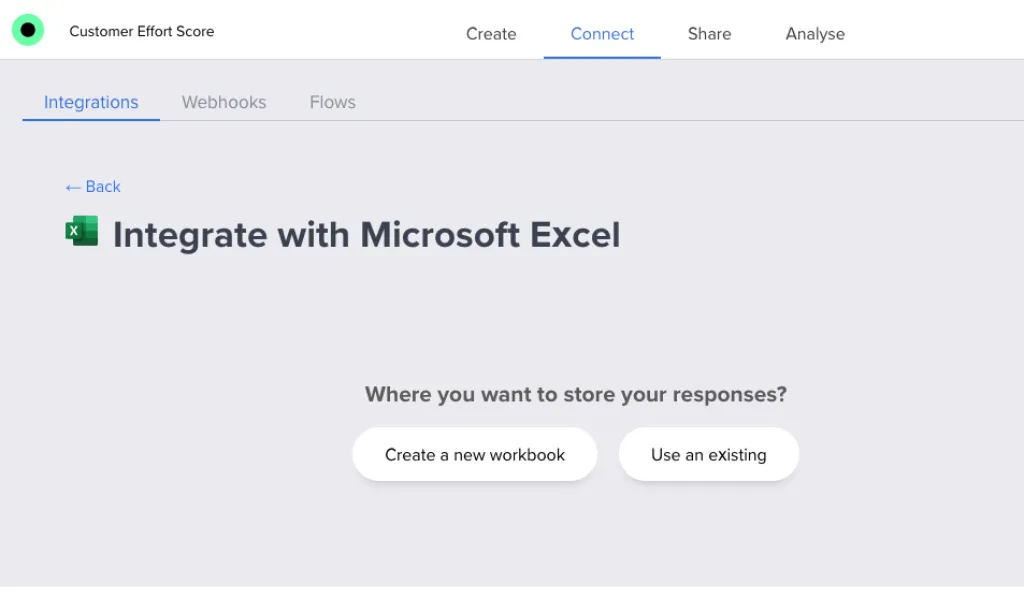
Step 3: Choose where responses are saved
You can:
- create a New workbook – Responsly will create a new Excel file for this survey’s responses, or
- choose an Existing workbook – link a file and pick the worksheet to use.
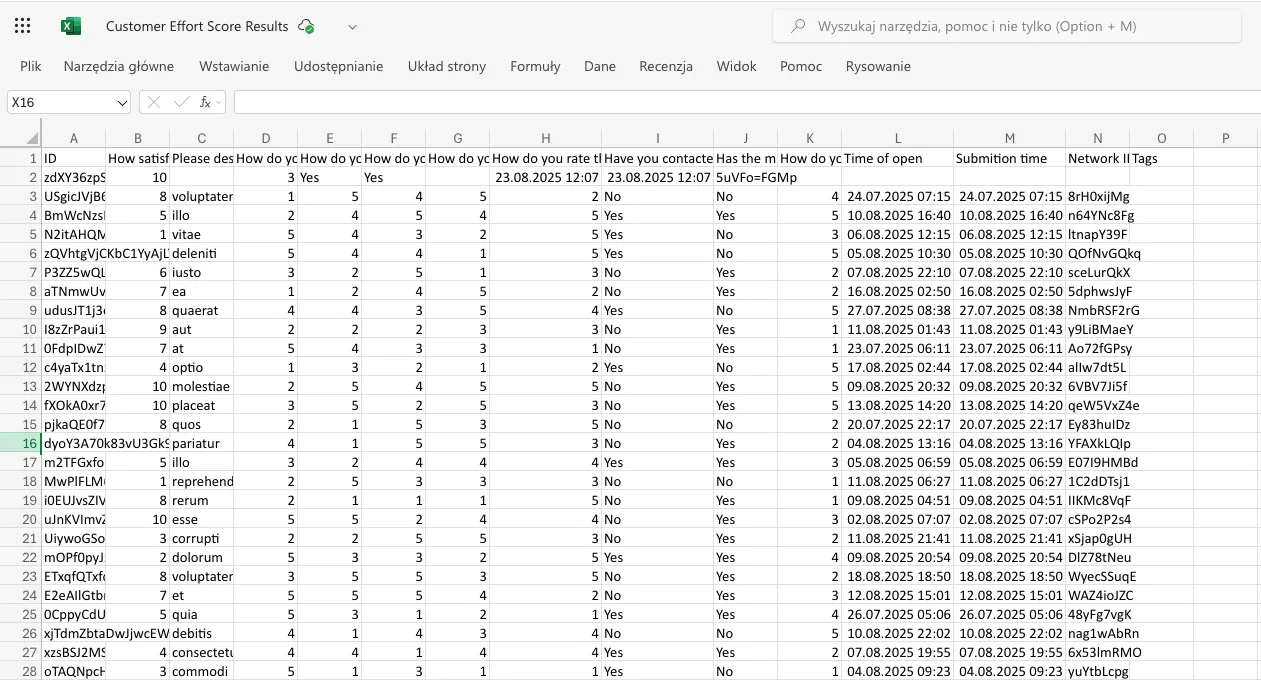
Responsly creates columns for your survey questions and writes each response into a new row.
Step 4: Verify everything works
- Submit a test response in Responsly.
- Open the linked Excel file.
- Confirm that:
- a new row has been added,
- data appears in the correct columns.
If something doesn’t look right (missing field, misaligned column, etc.), adjust your integration settings and test again.
You can change which workbook or worksheet is used, adjust which fields are synced, or disable the integration at any time if you no longer want data flowing into Excel. For custom server-side handling of each submission, Webhooks may complement this integration.